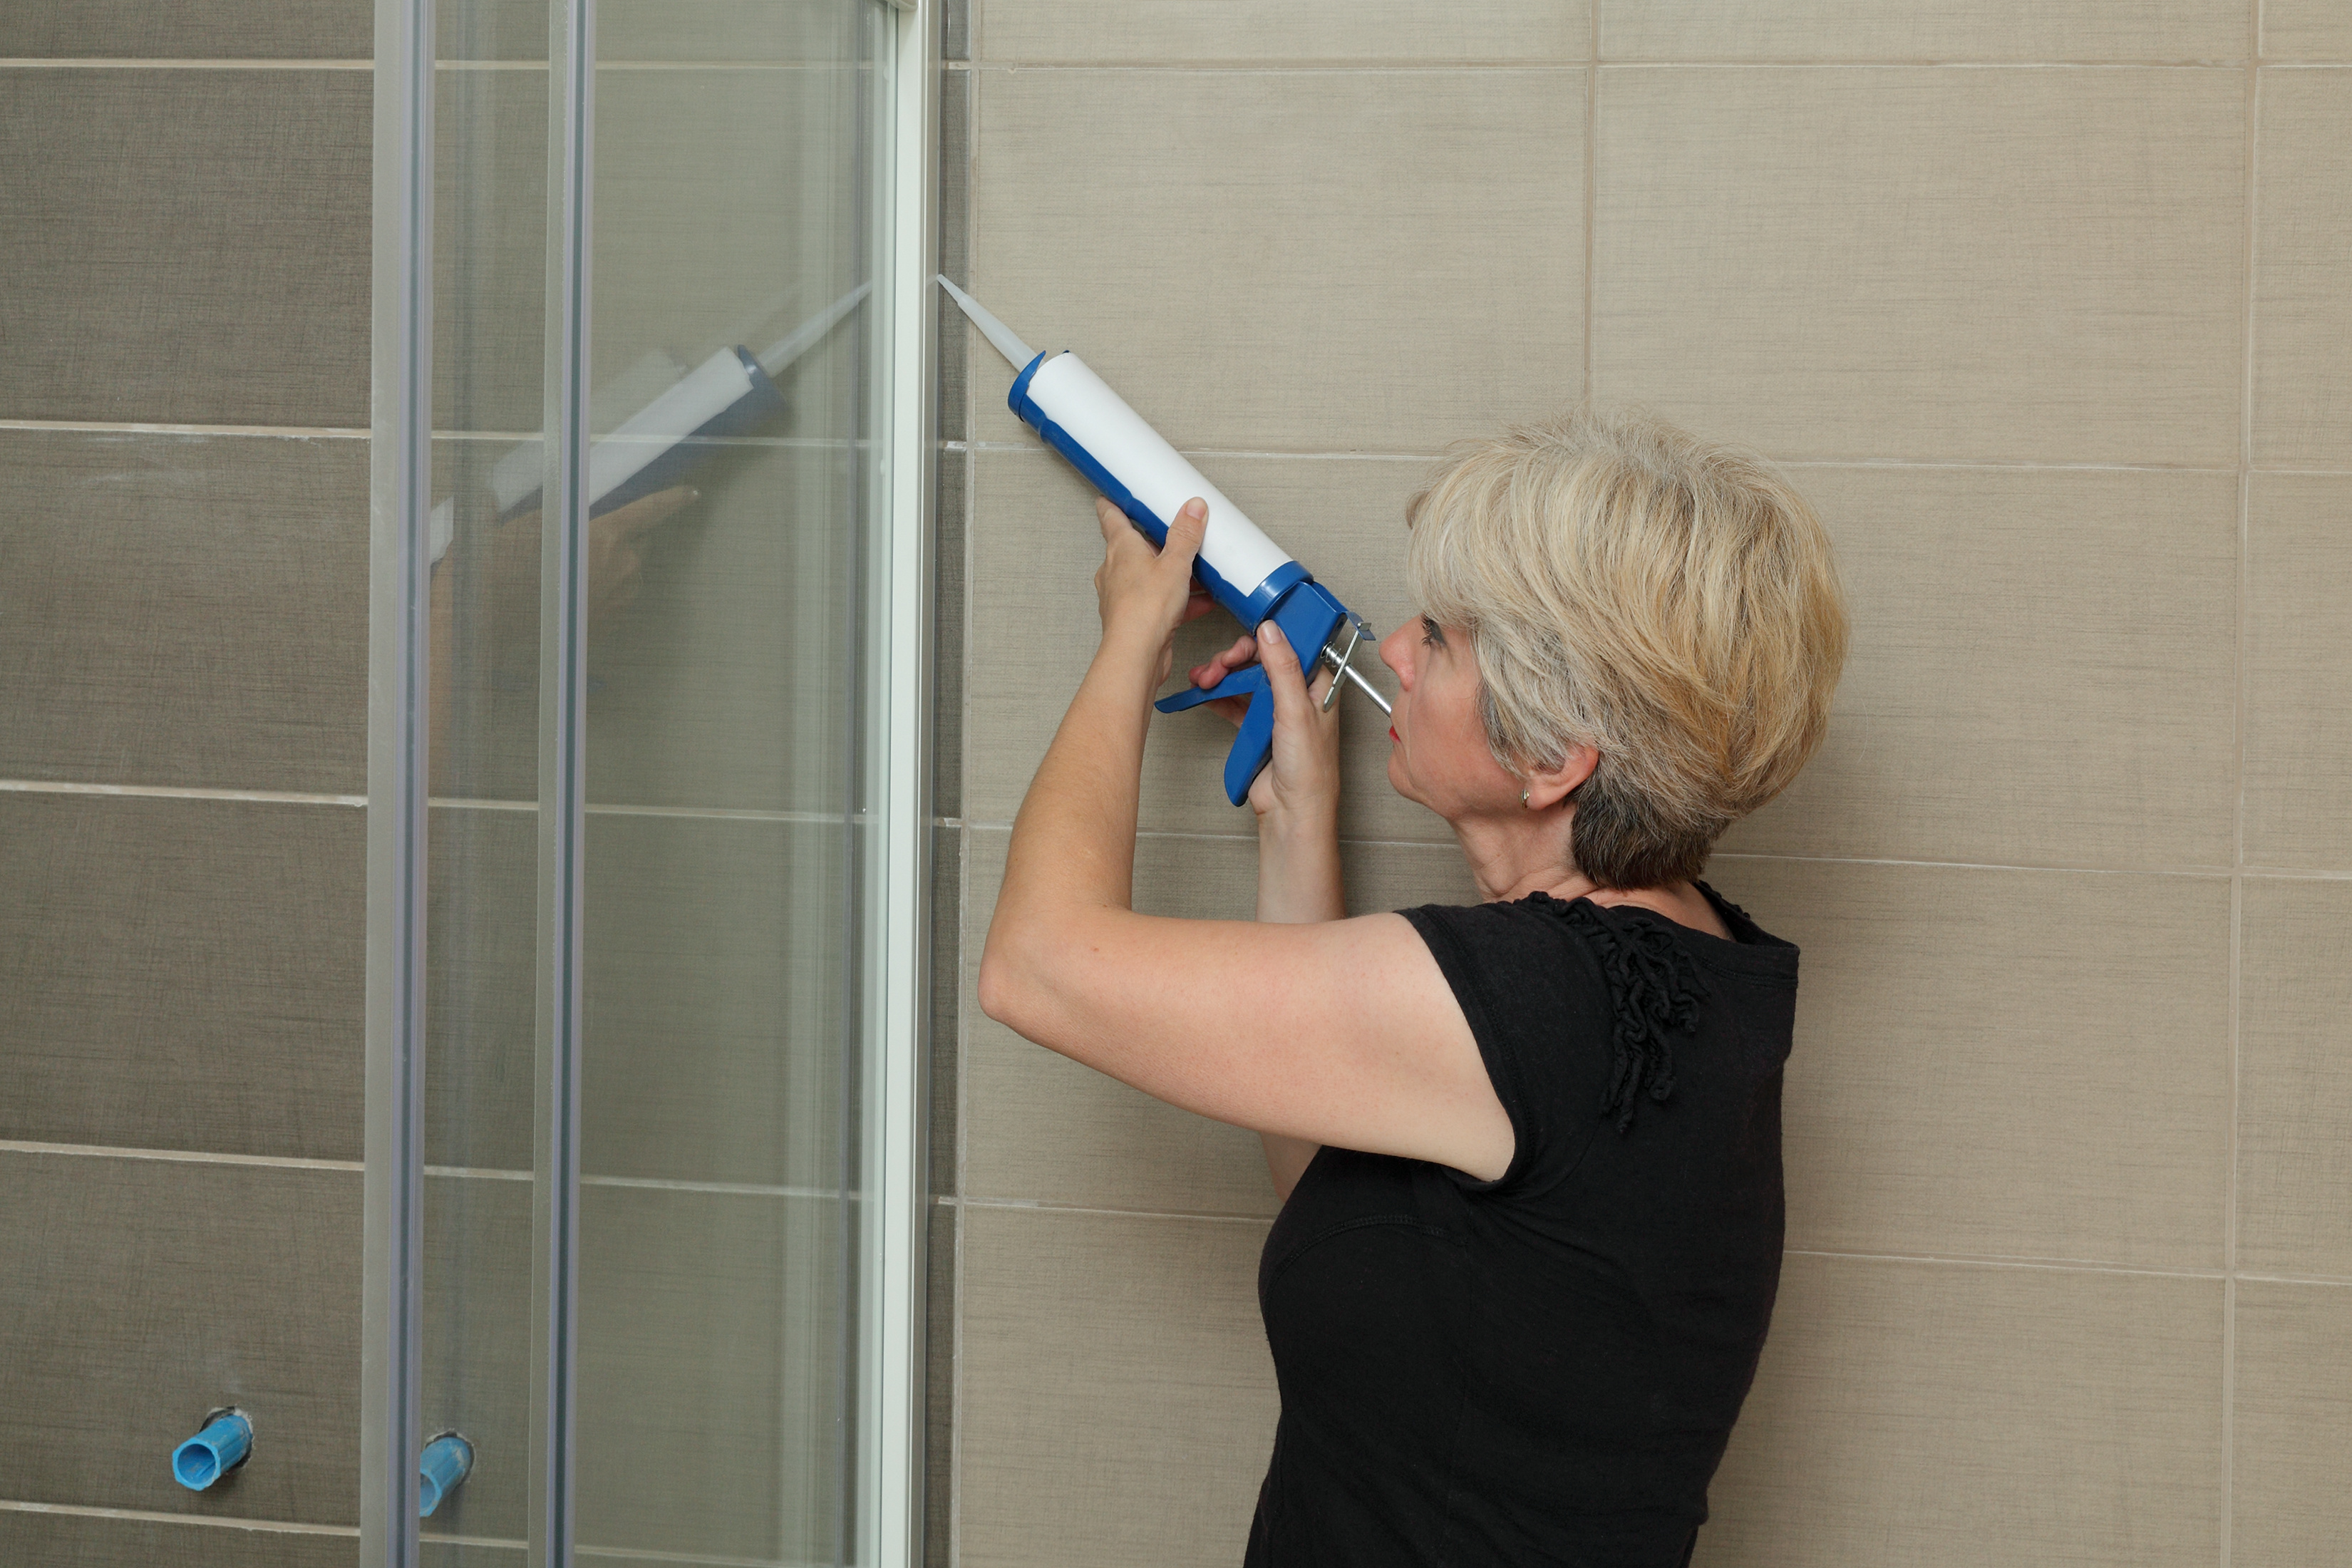
Puddles on your bathroom floor are often the first sign that the shower door caulk needs replacing. Take a closer look. Is the caulk discolored or wearing away? If so, it’s time to recaulk. For handy homeowners, recaulking is a DIY afternoon project.
Note: You won’t be able to use your shower for 24 hours after you recaulk, so plan accordingly.
How to Recaulk a Shower Door
Every day, caulking is exposed to shampoos, soaps, and cleaners. Over time, caulking starts to wear away. Recaulking not only keeps your shower door watertight, but it also keeps your entire bathroom looking fresh and clean.
Recaulking Tools
You’ll need to gather some tools and supplies before you get started:
- Utility and putty knives to remove the old caulking.
- Sandpaper to clean and smooth the surfaces.
- Mold and mildew cleaner for the seams and gaps.
- Stiff bristled brush for cleaning.
- Mildew resistant caulking that is suitable for the wet, humid conditions in bathrooms.
- Caulking gun to push the caulk from the tube.
- Lint-free cloths to clean as you go.
- A mask to wear to prevent mold inhalation.
Allow Time for Recaulking Your Shower Door
When you’ve got a few hours to spend on this task, go ahead and get started. It generally requires 2-4 hours of time:
- Wearing the mask, use the knives to cut and scrape away the old caulking.
- Clean the area with the mold and mildew cleaner, and let dry.
- Use the sandpaper, if needed, to remove any remaining residue.
- Apply the caulk in one fluid line. Moisten your finger to smooth out the caulk and remove any extra.
- Let it dry for 24 hours. You shouldn’t use the shower or tub during this time.
- Inspect the caulk and do a wet test to ensure that the caulk is airtight.