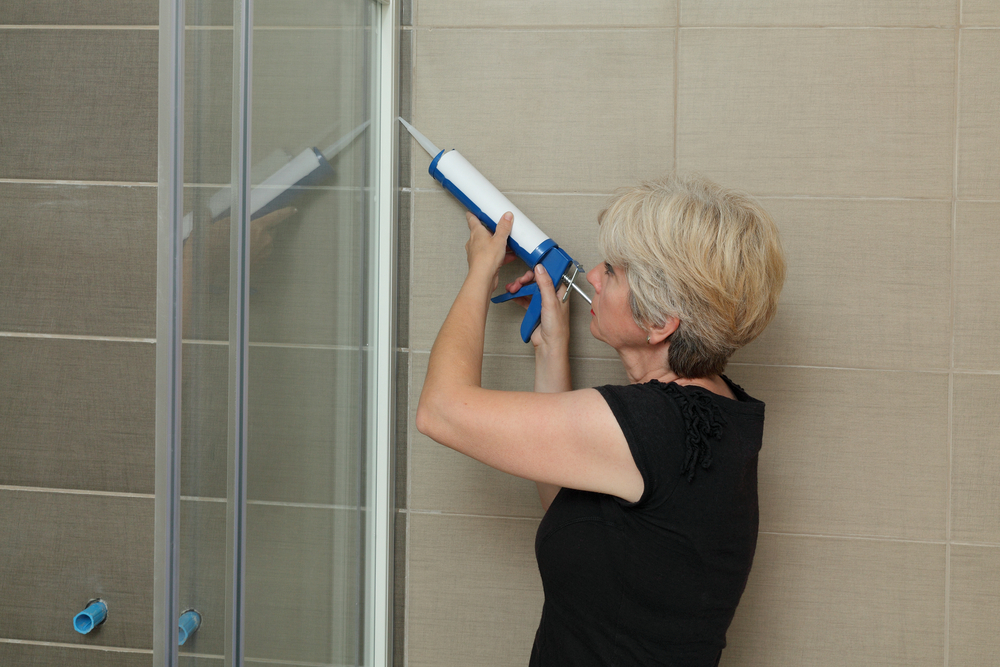
The stained caulk around the shower door or odd puddles outside of the shower are both signs that your shower needs some attention. If you are experiencing extensive leaking issues, it may be time for a new shower door. However, updating the caulking is an inexpensive and fairly simple way to gauge if your shower door needs a quick fix or a total replacement.
Why Updating Your Shower’s Caulking Is Important
Normal use takes its toll on shower doors in general. The sealant used to hold your door frame steady and to keep water off your floor and walls is put to the test daily by soap, shampoo, and household cleaners.
Products and abrasion cause discoloration and can cause breaches that promote mold growth within your shower. Replacing shower door caulking will leave the stall looking and feeling cleaner, and if done correctly, the new sealant will protect the bathroom walls from leaks and dampness.
Related Read: Is Your Shower Making You Sick?
Where to Start
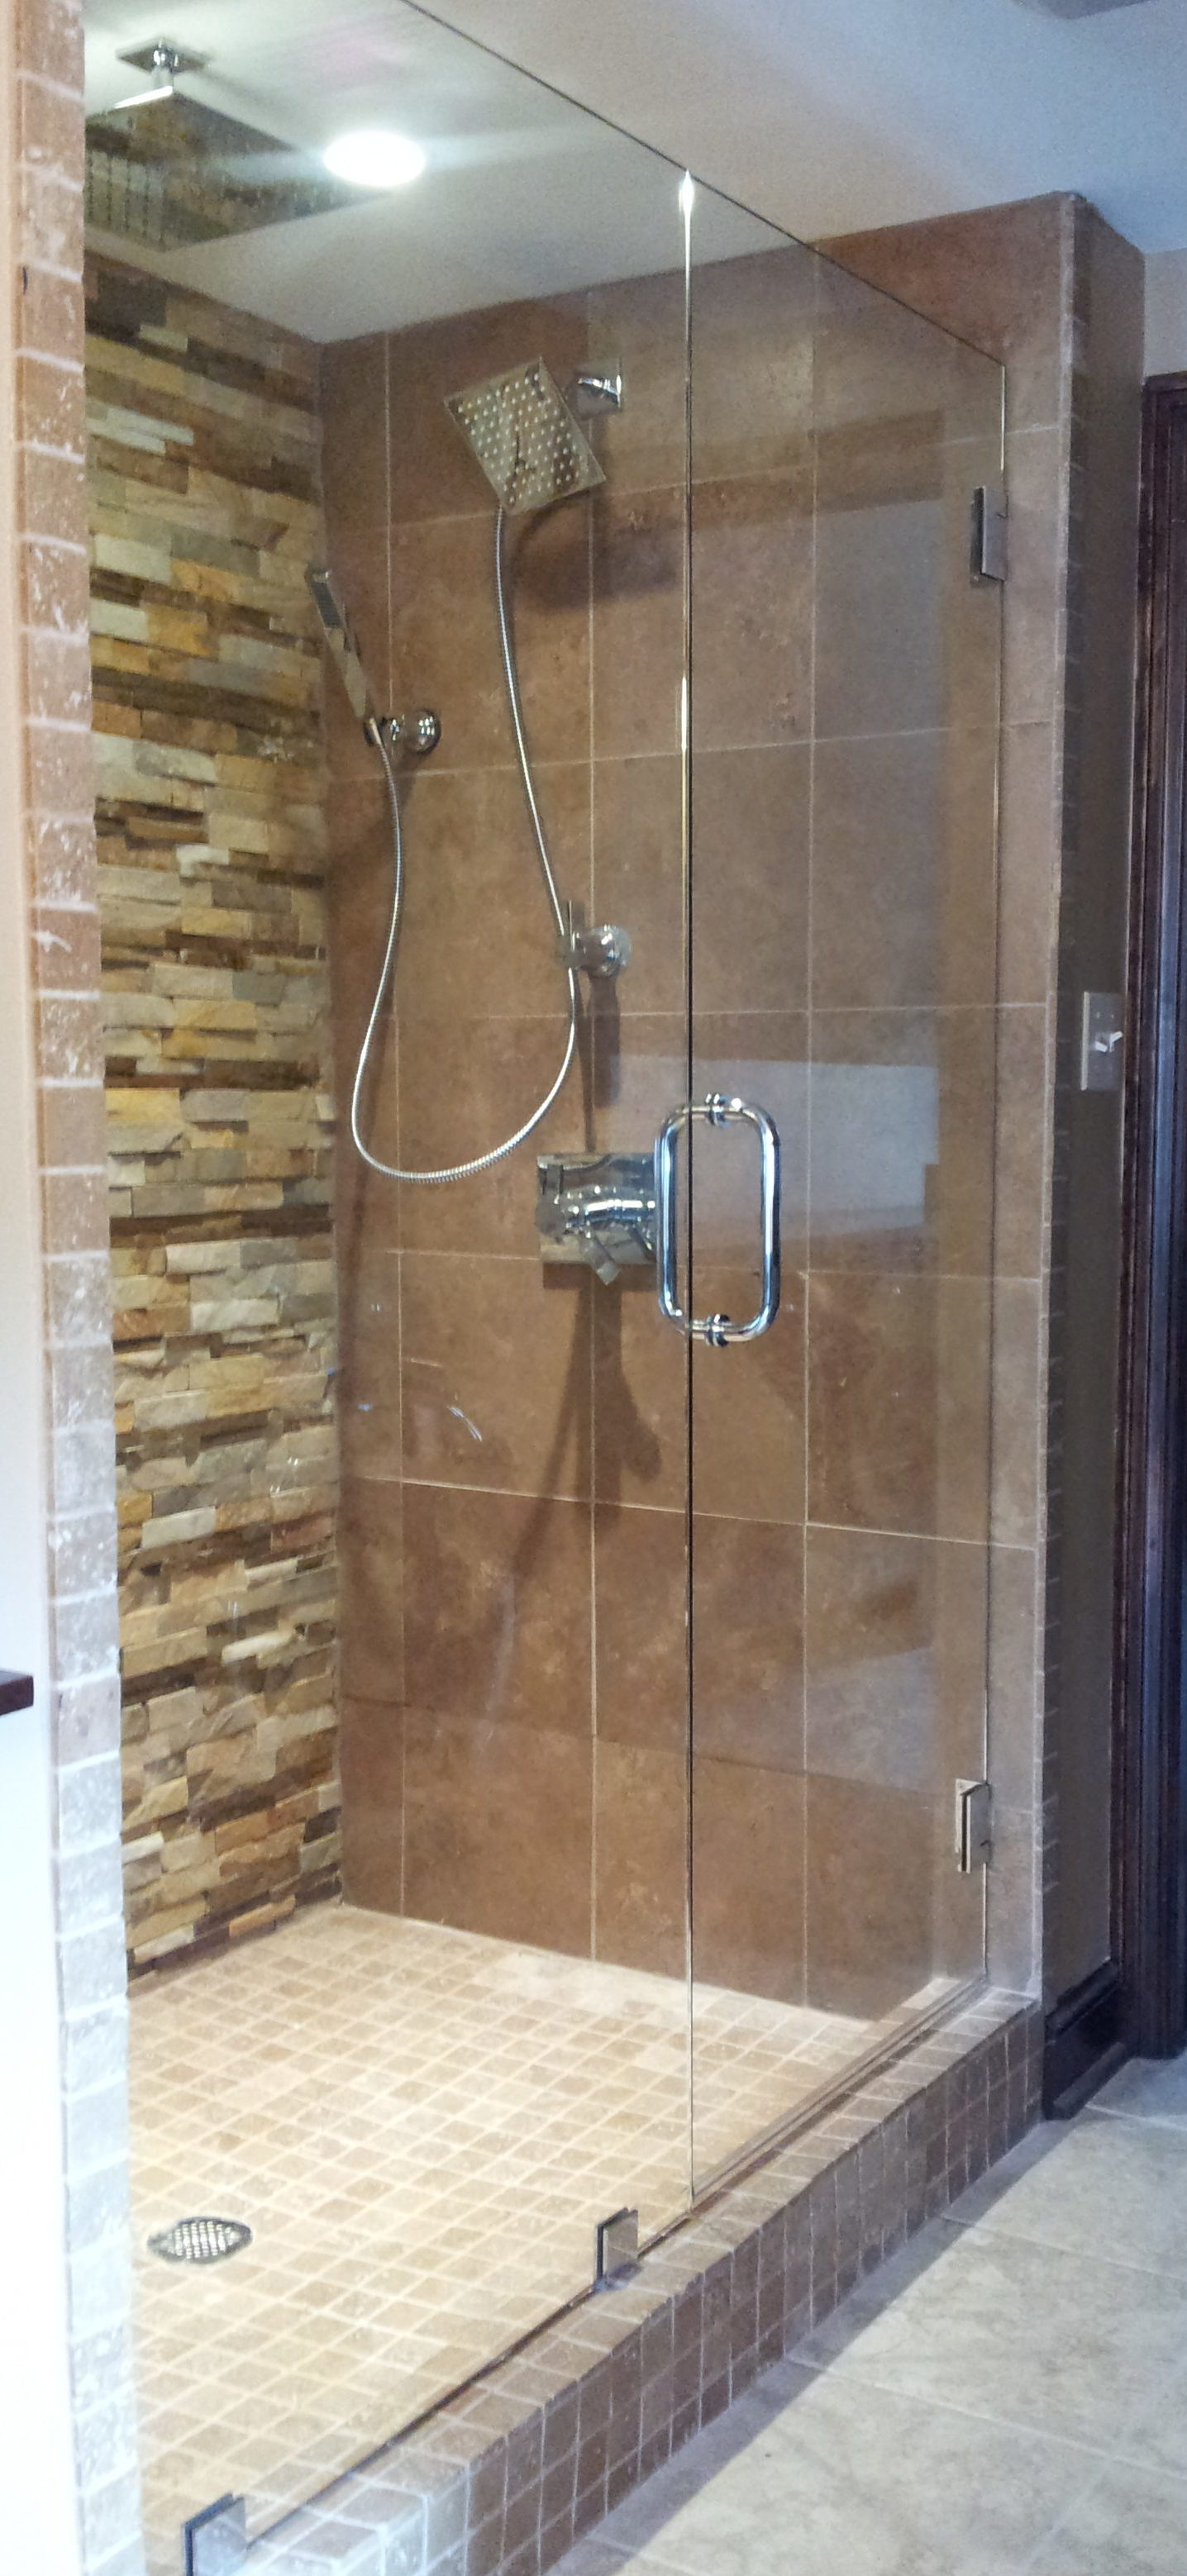
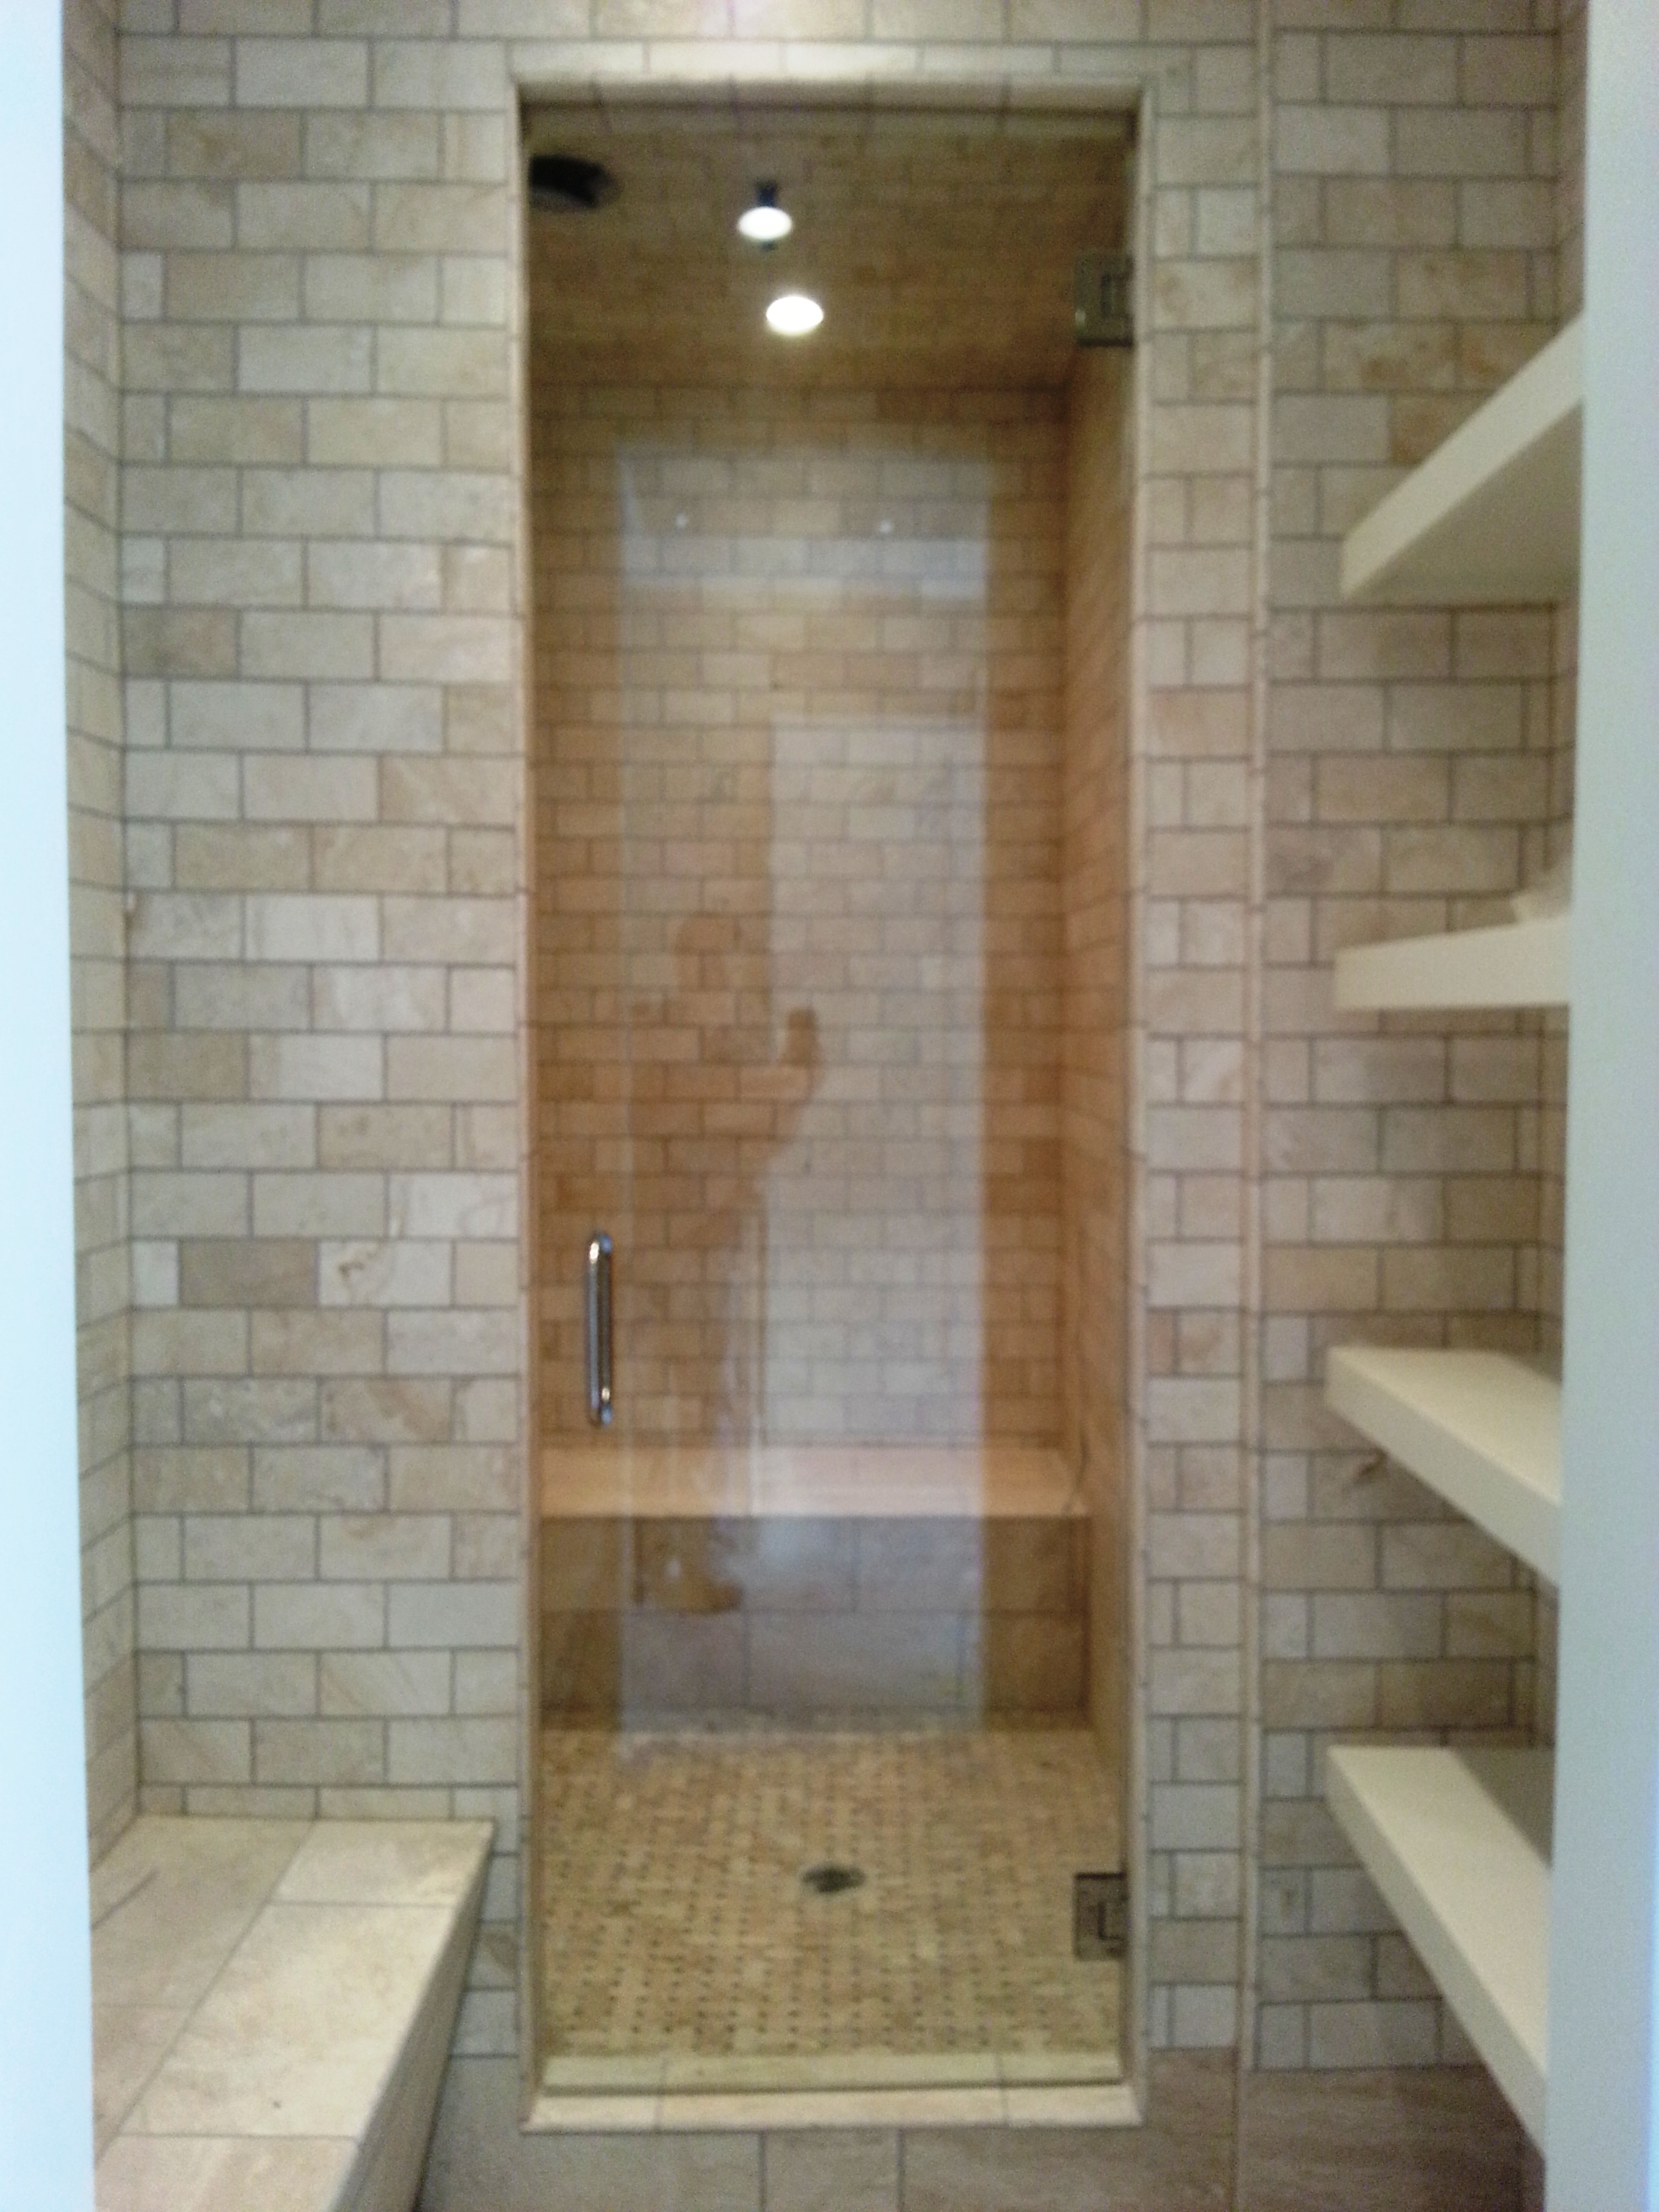
Begin by examining the caulking around the glass door. Also, check the status of the caulking on the rest of the shower surround and tub. Identify the leaks and get smart about what kind of material the shower is made of and the most appropriate caulk to use.
Next, Gather Supplies:
- Utility knife to cut away old caulking.
- Putty knife to scrape away caulking and debris.
- Sandpaper is optional, but can be used to further clean and smooth the surface.
- Mold and mildew cleaner (or diluted white vinegar) to clean the seams and gaps and kill the mold and mildew spores.
- Stiff bristled cleaning brush for scrubbing the seam before reapplying caulking
- Caulking, particularly a mildew resistant type to prolong its life in your shower (Make sure you know the difference between grout and caulk, and the different caulking materials and colors available.)
- Caulking gun which is used to push the caulk from the tube. A helpful hint: try borrowing one because you will need it rarely
- Dry, lint-free cloth
Follow These Steps
- Use the utility knife and putty knife to cut and clean away the old caulking; be sure to wear a mask to prevent mold inhalation.
- Thoroughly clean the seam with anti-mildew cleaner or slightly diluted white distilled vinegar.
- Let the area dry completely. Examine the seams, lightly sand any rough areas and use the cloth to wipe the area clean.
- Apply a bead of caulk in one fluid line between joints, each time using a moist finger to remove excess caulk and evenly fill the seam.
- Repeat on all seams until the shower is re-sealed.
- Let dry completely, between 12 and 24 hours, then visually check the work as well as wet-test the areas to make sure the leaks are resolved.
- Finally, you can admire the fresh clean look.
Watch This: How to Properly Caulk a Shower Stall
The experienced home improvement hobbyist can expect to spend between two and four hours doing this project, not including drying time. However, this is not a project for a novice; there is too much at stake. For instance, trapping water behind the caulk or failing to identify the real cause of puddling or mold can lead to more extensive, and expensive, problems.
To have shower caulk replaced correctly, the source of water leakage or puddling must be definitively identified. Only once the source is identified, can homeowners rest easy knowing their bathroom is ready to get back to its daily role of keeping you clean.
Looking to install a new glass shower door? Contact Janssen Glass today, and check out our blog for more helpful tips and tricks to care for the glass in your home!
 The sun is shining, the birds are chirping, and the flowers are blooming. Spring has finally made its way to Kansas City!
  Glass is a beautiful component to a home, whether it is for functional or decorative purposes. Oftentimes, however, homeowners aren’t sure how to properly care for their glass. Knowing how to clean and care for your glass is essential to keeping your class features looking great. Janssen Glass shares our top tips for doing just that!
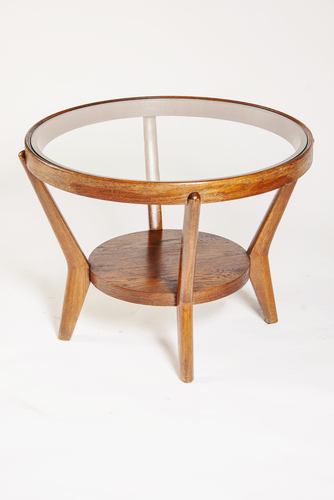 A coffee table is a must for most living rooms and family rooms, but do you really need to break the bank when choosing one? Not with Janssen Glass’ tips for sprucing up your old coffee table! Below are the must-haves that we would add to your standard wood coffee table.
 When relocating to a new home, there are a number of different items and personal belongings to pack during the process of loading up your old home. One of the main challenges that comes with moving is transporting a mirror or glass without breaking it. To ensure that the product is protected and stays intact, the Janssen Glass team wanted to share a few important tips to follow to prevent it from shattering.
 Minimalist Showers
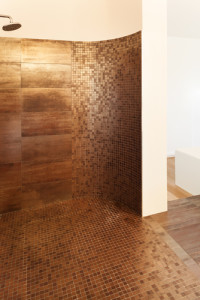 Universal Design
 Square Shaped Fixtures and Showerheads
  Drip, drip, drip . . . It has to be one of the most annoying noises to a homeowner. Other than leaving a rag at the bottom of the shower, how do you fix it?! While installing a new shower will fix the problem, it isn’t always the most cost effective for everyone. So, the